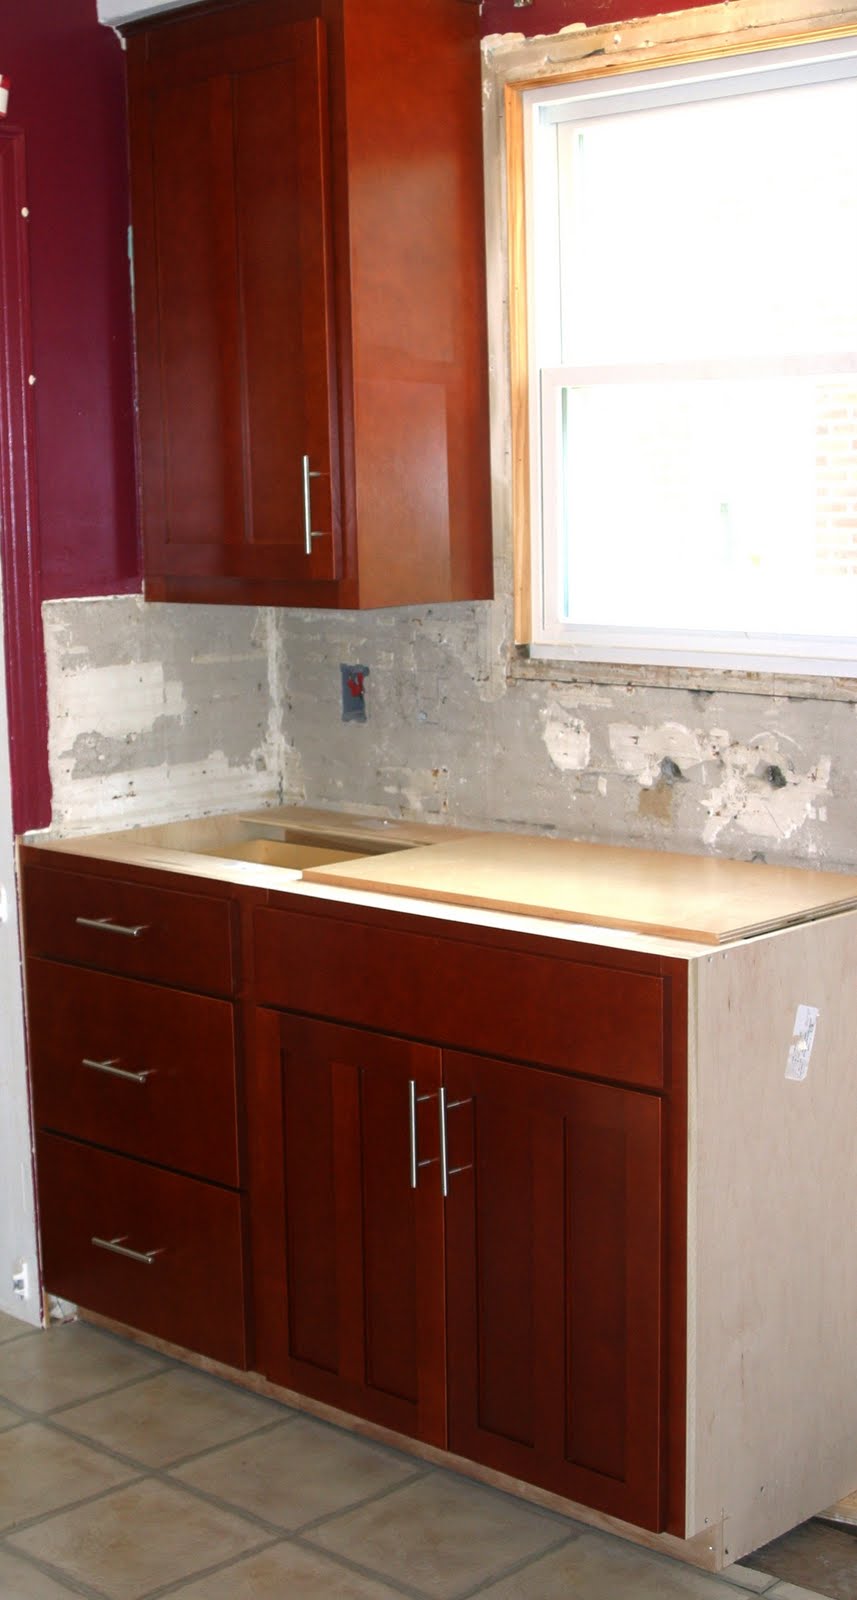
Showing posts with label home. Show all posts

Friday, November 18, 2011

Hello Sweetie


The Doctor has arrived! Well, at least his TARDIS has. That's Time and Relative Dimensions in Space for those of you unfamiliar with Doctor Who...which is a darn shame.

The TARDIS has been traveling around our area recently. Spending a couple days on different lawns. We were lucky enough to have it land this morning.


There is even a light on top that we can turn on tonight...how fun is that?!? I hope the timey-wimey noise box is still functional.


So where did this awesome piece come from? Well, the band director is a Whovian and at the last choir/orchestra concert...Hijinks and Hilarity... it was themed as such. They traveled throughout time to important dates in history musically. This TARDIS was on stage and "helped" them through their travels. They had lots of fun with that concert! It was near Halloween and the kids, um, young adults, dressed for the occasion. And my son, being the Doctor Who fan that is is, dressed up as one of the Doctors. Actually, he was a few different ones during the days at school also.

This is the TARDIS on it's first night ....


Friday, May 27, 2011

Where Have I Been?

At work. At craft shows. In my wet basement. At least some of it is fun. And Friday I added at home with a sick little boy. Poor little guy. Turns out to be Strep. Ick. And ouch. He was supposed to go to the zoo with the latchkey group since it was a no school day. I told him we'd go next week. If the rain stops that is. Which it is supposed to.

This is the work part. I am making my first model garment to display - yippee!!! Am I nervous? Um, yup, a tad. My only real worry is finding the space to work. I'll show you why below.


Let me introduce you to our new best friend....

He is quite useful for this, which is hard to see since the water is (luckily) storm water and therefore clean & clear. But all the reflections on the floor are only possible because of the water covering it. At a rate of about 3 fills ups per hour. And it's a 12 gallon wet/dry vac. Ugh. I am happy to report that it finally slowed down though.


Do you remember a few weeks back when I showed similar pics? Yeah. Well, the problem has not been able to get fixed because we haven't had enough days in a row to dry things up. But the sun is out now. That' a good sign.

At least my show was inside at the Rust Belt yesterday. New spot this time...against a wall. Still not sure which placing I preferred. I do prefer this pic though...and not just because my little guy is in it :) But because it was taken with my new toy...a Galaxy Tablet. LOVE IT!!! I even have a card swiper on it for shows. Sweet!


And that sick little boy.....feels good enough to play on Mom's new toy :)


Tuesday, August 24, 2010

Kitchen Finally Too...

..this is the big aaaahhhhh...as I relax and slump into my "my home is mine again" puddle on the couch. Of course now I have to put everything back, but it's done. Unless you count the dishwasher. Ugh - that one has been nightmareish'ish. First The Home Depot blew it. I had to cancel that order after they called to confirm delivery one night for the next morning, only to call 15 minutes after the time slot to say they never got it in the first place. Um, then why call to confirm you'll be delivering a dishwasher you never even had in the first place?!? Grrrr. Then Lowe's...so far, not so bad. But still waiting for the installer to return my call to set up the install date. So just imagine a dishwasher in the empty space there below the countertop just to the right of the sink.

So, with no further fluff....the before and afters...


Monday, August 23, 2010

Finally...

...the before and afters...

Keep in mind, not everything is put back in its place yet. And much of it won't be brought back. Actually, these before's are more like "just after the original before's". They were taken after I cleared out lots of the big stuff (like the couch) and took down the draperies. Plus, the second set for the front room has the "before" when the walls were primed...they were originally blue like the first pic. And the boy's rooms were taken after the carpet was ripped out. But you can still get the idea....

The yellow couch is new to us. It was my sis-in-laws, but they just got a new leather couch. And she knew I always loved the style of her yellow one. Now to find the fabric to cover it with...should be a fun project once the little guy is in school :)

Little guy wanted a reg rug and I had an extra area rug that I put down underneath his wire cubical shelf thingy. I figure he'll be the hardest on the new floors, so the more protection the better :)

And below you can see the small fluffy rug the big guy wanted for his floor. I have to admit, it is nice and soft and will feel great during the winter when the floors are chilly.

The kitchen pics will come tomorrow - see you then :)

Tuesday, August 10, 2010

Green Me Baby!!!

I just love my new green walls. The darker wall is the "back" wall opposite the large window. It is 2 tones darker than the other 3 walls. I love the depth it gives the rooms.

And this is the large window. It was early in the day and it's an east facing wall, so the bright factor is a tad high. But you can get the idea of just how much light comes in early on. So that back darker wall can look much brighter in the morning.

Oh...and don't mind the kitchen table in the front room. It's the easiest place to put it while the work is being done. The kitchen to dining/sewing room/area is standard door width, which makes it more of a pain to move the table through repeatedly.

This room also has the back wall darker. It looks so nice with the crisp white cove ceiling & window casing. The bases are also going to be white.

The kitchen is all around one tone. I figured it'd be best this way since there is so much more going on in here than the other rooms. This green is the tone between those in the other rooms. It's pretty neat as the day moves on since the lighting almost makes it look like even more tones.

Monday, August 2, 2010

Primed and Ready

...my walls that is. Gone are the blue and yellow. Gone - almost - is the 2 toned brick red...which looked purple once the new cabinets went in. The walls are now smooth, hole free and white. Actually, more of a tint since the primer doesn't totally obliterate the color underneath. It looks so fresh and new - can't wait for the greens!!!


And as you can see...my usual helper was around for photos :)


Okay...some of the kitchen is still there. But the kitchen, well, it's a lot more work than anticipated. Much has to be done to the floors. Even after those 7 layers, there is still a hump in the middle to contend with. Some time with a saw & prybar should take care of that.

Friday, July 9, 2010

Floor Be Gone...and Confetti Anyone?

They came in to conquer the floor today. Turns out that the carpet was actually not as bad as I thought. Held up pretty well for 8 year old cheapy carpet. What you don't know when you redo things around the house...what the heck is under that floor. The hardwood underneath was not something that could have been refinished...at least not without paying an arm & leg & perhaps my first born. Also, it's rather orange. And nicked. And gouged. And full of nails. Granted, a refinish & new stain could fix that, but that's not going to fix the very very numerous nails that were pounded in everywhere...presumably to stop the squeaky.

See...orangey....

And the kicker...the kitchen. Big surprise. Remember the drop off we found when the cabinets were put in? Well, it turns out that there was a similar problem at the kitchen to dining room space. But opposite. The kitchen floor layers put it much much higher than the rest of the house. Not sure how good you can see it in this pic, but...

My guy said it's a good thing he's good at resolutions. I didn't ask if that applies to New Years too, because I could use help there also. Anyway...It won't be easy, but the floor will led to it's demise. The 2 vinyl, then plywood, then more vinyl, then some thick MDF-type stuff and the petroleum based lineloum confetti. Yes, confetti. I may have to do some research because I am now curious on just when this layer may have been added. Isn't it, um, cough, pretty?

Actually, the confetti floor is kinda cool, but not something I would want on my floor.

Thursday, July 8, 2010

Say Goodbye Floors - 'tis Time to Die

I am so happy to take these. These last pics of the floors. And walls too actually. Yes, we decided on a color. It will be the more green color I showed before. Only, it looks much different in person. And I added a 3rd tone for the kitchen. The dark was too dark and the light was too light. Go figure.

So goodbye front room...

Goodbye dining room/sewing room...

Monday, June 28, 2010

Now for the Floors and Walls

Okay. The cabinets are in. The countertop has been templated. Next!

Painting and floors. The floors are the easier decision. Hardwood (engineered). New baseboards too. They will be the 1st baseboards actually since it is currently shoe molding. I love the look and hubby's allergies will love it too. Actually, they might get ticked that they won't be as busy, but hubs will be happy. As for color, we still need to look around somewhat. But I have a pretty good idea.

Paint. Ugh. For the most part I do not mind painting. But do you recall the wall color of the kitchen? Um, not gonna be fun to paint over that. But even worse, for me anyway, is all the window trimming. New windows were put in a few years back. I have yet to do the final touches on the trim. You know, all the wood fill, sanding, repainting. My hand just can't work in that position for very long. Heck, it barely makes it through a bathtub scrub down. So yes, we are paying someone else to do it. And all the other bits & specs that need fine tuning on the walls.

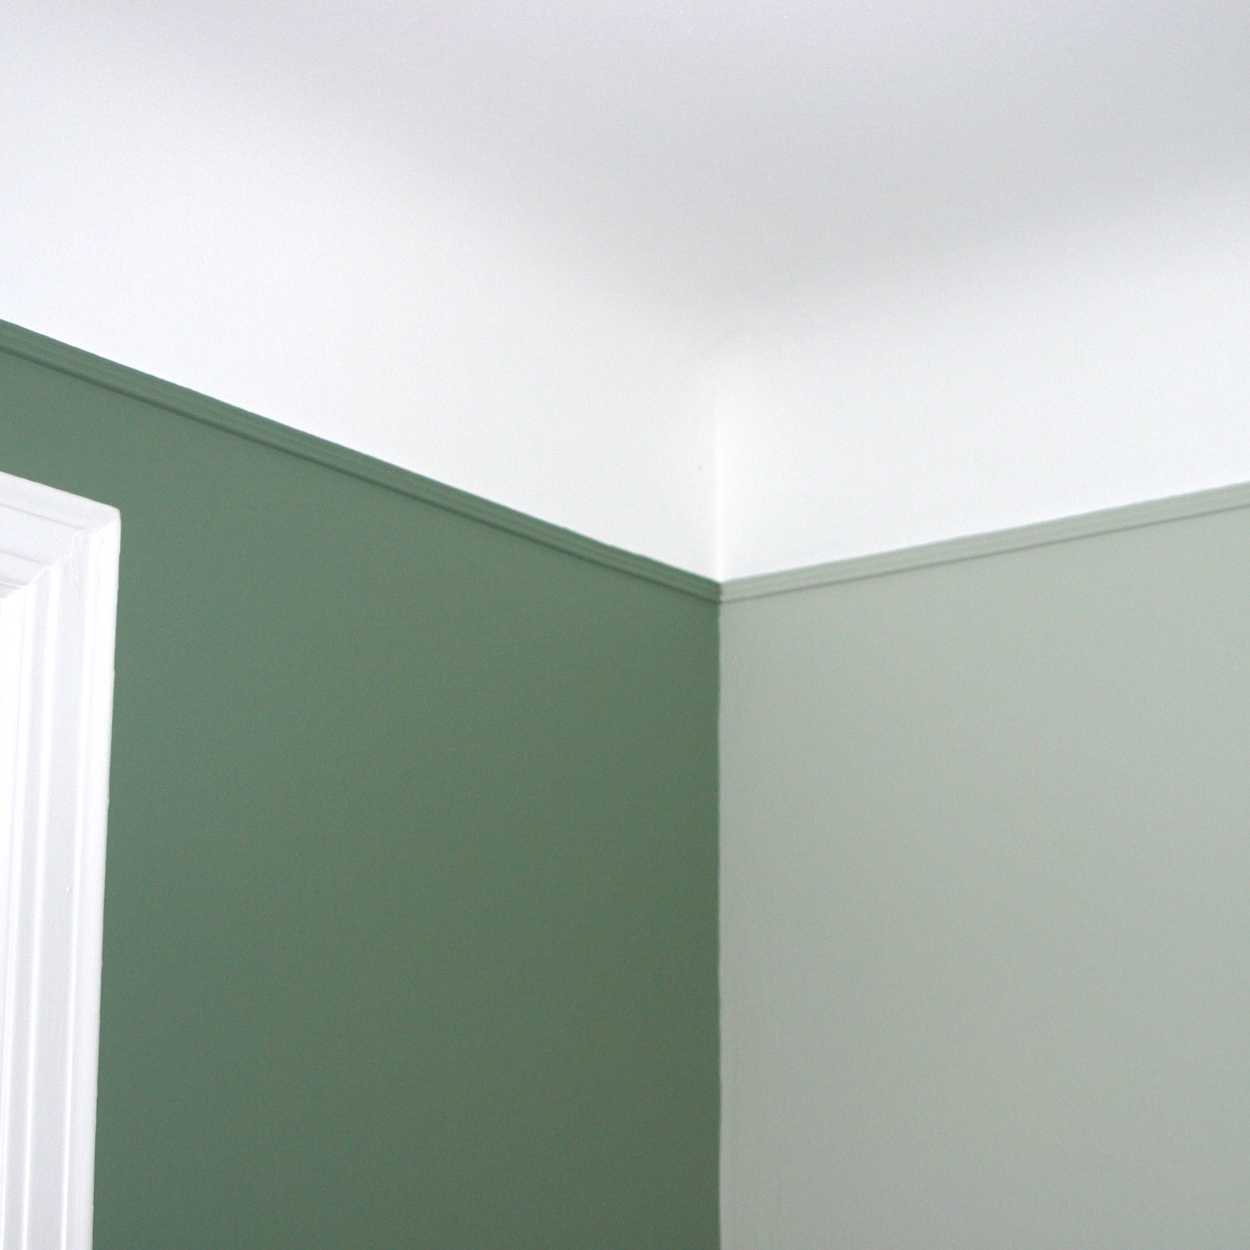
Color? I had fun with this one. I turned to my trusty computer photo software and played! I masked out the walls & floor to replace it with various color combos. It was a long, fun (for me anyway), process. Originally we were going to paint all the rooms the same color. Then just 2 colors with the kitchen being complementary. Then two tones of one color in each room with the back walls being the darker. Um, still not 100% sure which is the final. Probably the two tones throughout. Maybe. Probably.

These are the top winners so far...


I lean towards the bluer set while hubby leans towards the greener set. Although, they are very similar. And if your eyes or computer can't tell which is which...1st is blue, 2nd is green. Hmmm...if enough people can't tell the difference, I may just flip a coin :P

The last set, the browns ("tea chest"), did not make the cut for the kitchen due to the lack of color that it would leave in my kitchen. But it would be nice in the rest of the house. Especially for my pics for the shop - a nice neutral background is one thing I do not have anywhere right now.

So - opinions? comments? new suggestions? offers to come & watch my son & dog while it gets done?
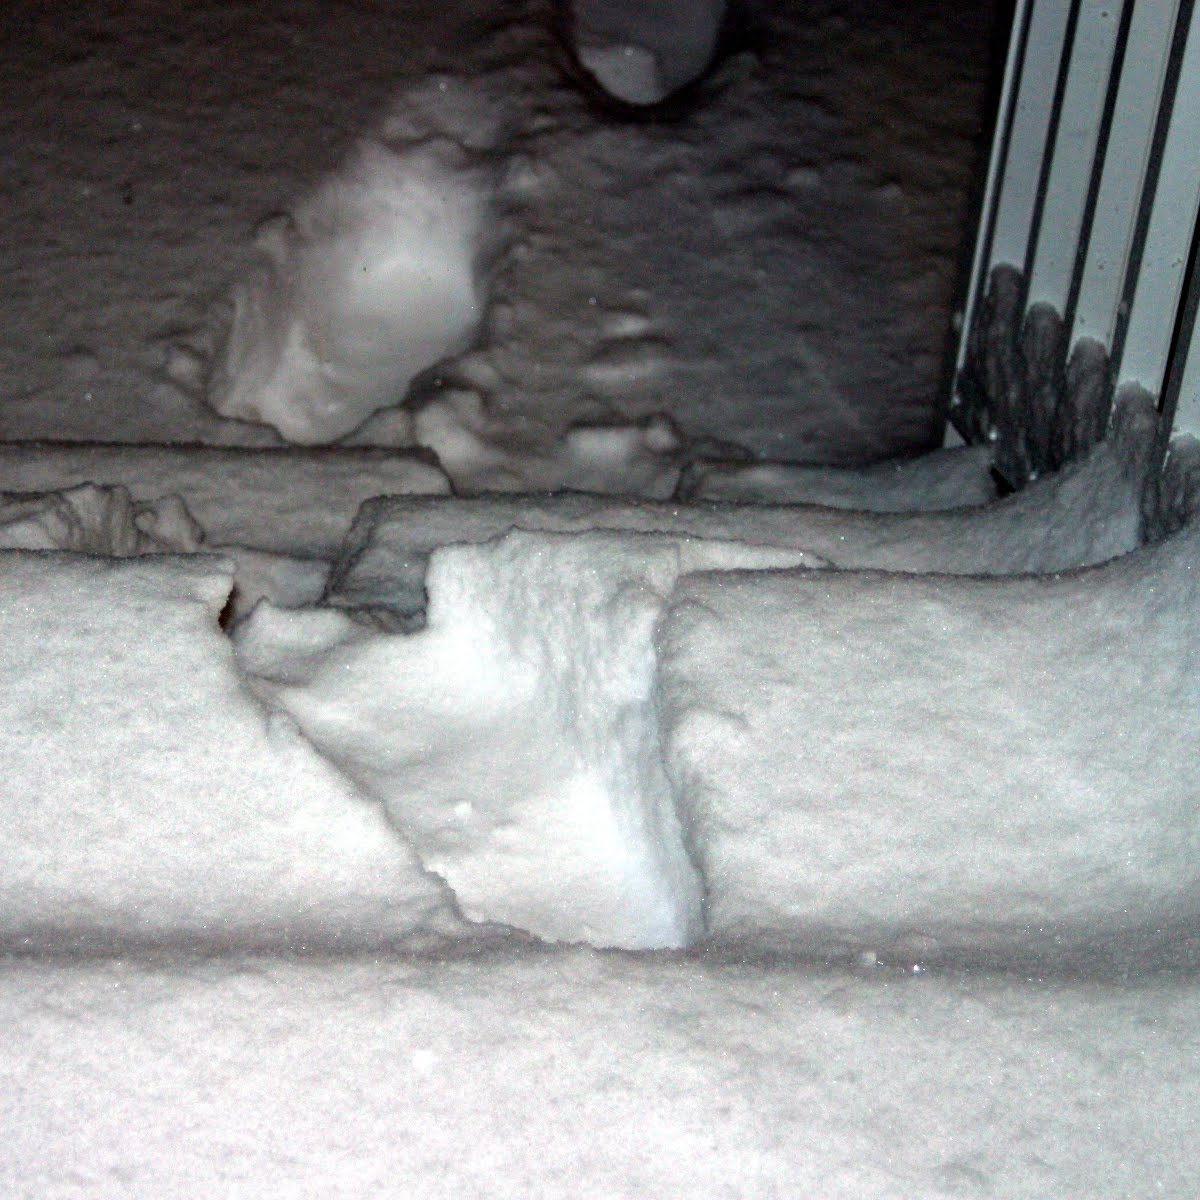
Tuesday, June 22, 2010

Kitchen Cabinets - CHECK!

Wow. 4 days and done. I just can't get over how quickly...and how well...the cabinet guy (and his wife/partner) got these in. I am in love. I still find it kind of funny how much I love the color. I have always loved cherry, but when I first started toying with the idea of a kitchen redo, my mind kept going to a lighter beech since the house is not exactly large. But the kitchen is. So it works.

My new ginormous lazy susan...

Now to decide on the backsplash. The countertop guy came in for the template & we talked about it somewhat. I did not think things through with the sales guy. Or more so, he didn't bring it up. I really want the backsplash to go all the way up to the bottom of the cabinets. The backsplash he was referring to was the standard 4"ish height. So now I am pricing things out. It could cost almost as much as the countertops themselves for the full height backsplash.

This is the sample of the countertop (not the easiest to see, but the darker specks are the same color as the cabinets)

S0 my options:
1) full backsplash: pro - most appealing / con - most expensive
2) standard backsplash with tile above: pro - cost effective/ con - not quite the look I want, but okay
3) standard backsplash with paint above: pro - cheap* / con - not the look I want and *may end up being the priciest because of fixing the wall itself